
Have you ever scrolled through someone’s photo and thought, “How did they get that gorgeous glow?” That warm, dreamy streak of light bleeding across the frame the kind you see in summer blockbusters and editorial magazine spreads isn’t always the result of perfect weather or a $5,000 lens. Sometimes it comes down to one smart editing tool called Photeeq Lens Flare.
We’ll cover what Photeeq Lens Flare actually is, why lens flares matter for storytelling, how to use it step by step, which photo types benefit the most, common mistakes to avoid, and how it compares to other options. By the end, you’ll know exactly how to add cinematic light to your photos without spending a fortune or waiting for the perfect sunset.
What Is Photeeq Lens Flare?
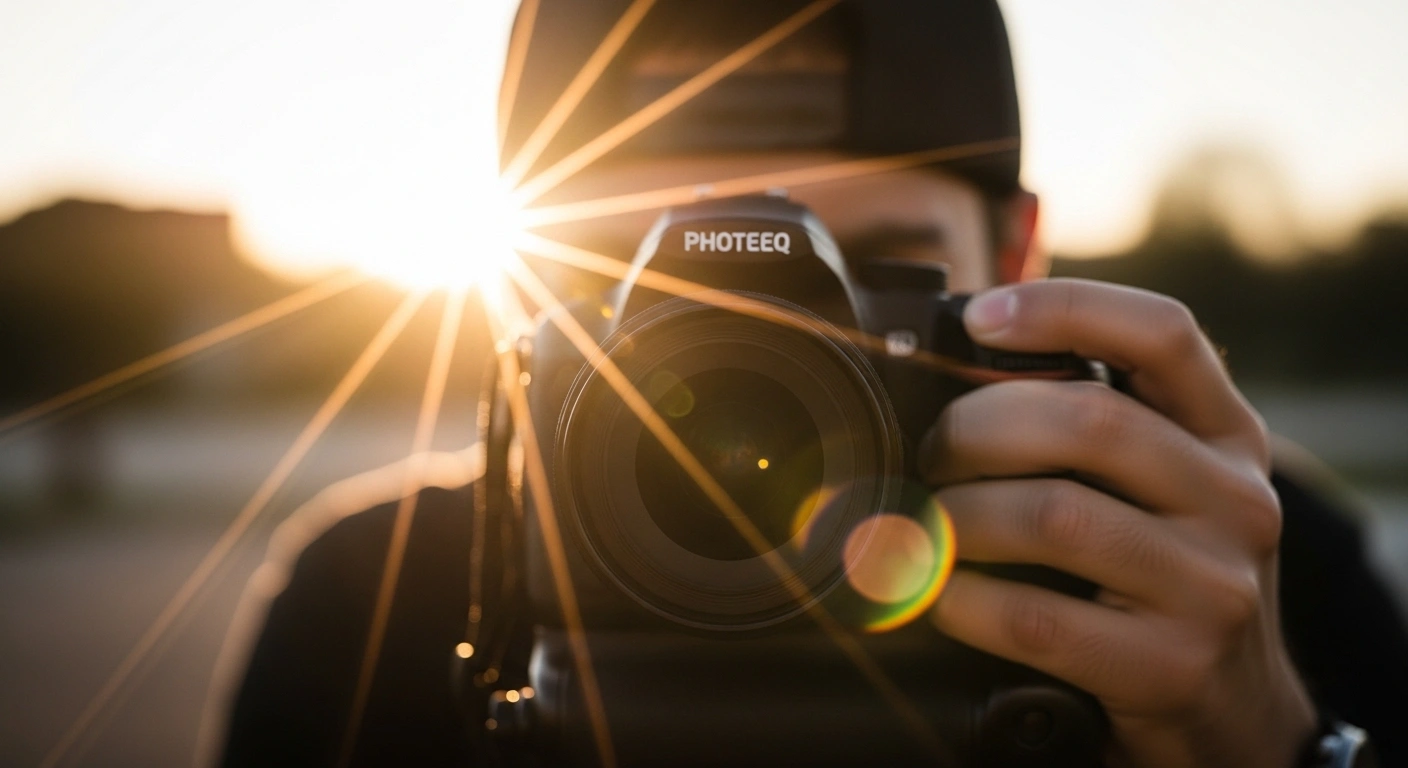
Photeeq Lens Flare is a digital tool, available as a plugin for Adobe Photoshop and Lightroom and also as a standalone overlay pack, that lets you add realistic lens flare effects to your photos during post-processing.
A lens flare happens naturally when bright light hits a camera’s glass elements at a certain angle. The light scatters inside the lens and creates glowing streaks, orbs, halos, or starburst shapes in the frame. For a long time, photographers treated it as a mistake. Then cinematographers and fashion photographers realized it looked incredible when used on purpose, and the rest is history.
The problem is that capturing real lens flare in-camera is unpredictable. You need the right angle, the right light, and the right moment. Photeeq fills that gap. It gives you that same cinematic effect in post-production, with full control over placement, intensity, and color.
Unlike generic Instagram filters, Photeeq uses layered algorithms that simulate how light actually scatters through different types of lenses. The result looks natural, not like something you slapped on in 10 seconds.
How Lens Flare Went from Flaw to Feature
For most of photography’s early history, lens flares were considered failures. Camera manufacturers designed lens coatings specifically to reduce internal light scattering. A flare meant lost contrast, washed-out colors, and an unprofessional result.
Then something changed in film. Directors of Photography started noticing that a subtle flare could communicate warmth, nostalgia, and the feeling of being right in a moment. By the time J.J. Abrams turned lens flare into a near-signature filmmaking style with Star Trek in 2009, the effect had gone from accident to art form.
Today, the consensus among professionals is pretty clear. Lens flare used with purpose, placed deliberately, matched to the light source, and calibrated in intensity, enhances storytelling. Used carelessly, it just looks messy. That’s the key principle you’ll come back to throughout this guide.
Natural Lens Flare vs. Digital Lens Flare
Most competing guides skip this entirely, but understanding the difference actually helps you make better editing decisions.
Natural lens flare happens when you shoot toward a strong light source and the light bounces around inside your lens’s glass elements. Every lens produces a slightly different flare based on its optical graphic design
and coating quality. That’s why a vintage 50mm gives you those soft circular orbs, while a cinema anamorphic lens produces long horizontal streaks.
The upside of natural flare is that it’s genuinely authentic. The patterns are complex and organic, and no digital tool can fully replicate the exact look of light bouncing through a specific piece of glass in a specific moment. The downside is limited control. The flare might land on your subject’s face, blow out a key part of the sky, or simply not show up the way you wanted.
Photeeq digital flare flips that whole situation around. You give up a small degree of optical personality in exchange for total creative control, including placement, intensity, color, shape, and the ability to undo everything if the client changes their mind.
Many working photographers actually use both. They try to capture natural flare on set when conditions allow, then use Photeeq in post to either enhance what they got or add it where it didn’t happen naturally. The two approaches aren’t competing with each other at all.
| Factor | Natural In-Camera Flare | Photeeq Digital Flare |
|---|---|---|
| Realism | Optically authentic | Algorithm-simulated, very convincing |
| Control | Minimal | Complete |
| Consistency across shots | Difficult | Easy |
| Ability to revise | None after the shoot | Unlimited |
| Equipment dependency | Lens-dependent | Software only |
| Time cost | Requires perfect conditions | Minutes in post |
| Best for | Editorial, artistic work | Commercial, client work, any genre |
Core Features That Make Photeeq Worth Using
Before we get into the how-to, here’s what Photeeq actually gives you.
Realistic Light Simulation Engine
Photeeq doesn’t just paste a glowing circle onto your photo. Its algorithms simulate how light behaves when passing through glass, taking into account aperture shape, the angle of incoming light, and lens type. That’s why a Photeeq flare tends to look like it belongs in the image rather than sitting awkwardly on top of it.
Multiple Flare Types and Presets
The tool includes a wide range of styles, from circular glows and anamorphic horizontal streaks to soft bokeh halos, starburst bursts, and light leak effects. Each one suits a different kind of photo and a different mood.
Color Temperature and Hue Control
You can shift the hue of your flare to match the existing light in your photo. Warm golden tones work for a sunset portrait. Soft blue-white suits a winter landscape. Vivid orange fits a city street at night. Getting this right is honestly what separates a flare that feels intentional from one that feels pasted on.
Intensity and Opacity Sliders
A flare at 20% opacity whispers. One at 80% shouts. Most professional-looking results sit somewhere in the 25 to 45 percent range, though that varies widely depending on the image.
Non-Destructive Layer-Based Workflow
Your original image is never touched. You can go back, adjust, mask, or remove the effect entirely at any point. This matters a lot on client jobs where revisions are part of the process.
Masking and Blending Mode Support
You can paint layer masks to hide the flare from specific areas like faces, text, or product labels. Blending modes like Screen and Soft Light help the flare sit inside the image naturally rather than just floating on top of everything.
How to Use Photeeq Lens Flare: Step by Step
Here’s a clear, complete workflow that also covers the things intermediate editors often miss.
Start with a Strong Foundation Image
Photeeq works best when there’s already a logical light source in the photo, whether that’s sunlight, a window, headlights, or a lamp. Do your standard color corrections and exposure adjustments before adding the flare. A lens flare won’t fix an underexposed or muddy image. It’ll just draw more attention to the problems that are already there.
Create a New Layer
Always work on a separate layer. In Photoshop, press Ctrl or Cmd plus Shift plus N to create a new layer. In Lightroom, import the flare PNG and place it as a layer through the Edit in Photoshop option. Working on a separate layer protects your original image and keeps all your options open later.
Choose Your Flare Preset
Open Photeeq and browse the preset library. Before you click anything, ask yourself a few quick questions:
- Is this a warm golden-hour scene or a cool dramatic nighttime shot?
- Should the mood feel romantic and soft, or edgy and high contrast?
- What emotion am I trying to bring out in this image?
Let the mood guide your flare choice. Don’t just grab the most dramatic option because it looks exciting in the preview.
Position the Flare at the Light Source
Drag the flare’s origin point to align with the light source in your image. This is the single most important step for making the flare look real. A flare appearing from a shadowed area looks fake immediately, even if the viewer can’t quite put their finger on why. Even if your light source is just outside the frame, position the flare as though it genuinely originates from that direction.
Adjust Intensity and Match the Color
Use the intensity slider to soften the effect. In most cases, going lighter looks more professional than going heavier. Then adjust the hue slider until the flare color matches or complements the dominant light temperature in your photo:
- Warm amber-orange for daytime outdoor scenes
- Cool blue-white for night photography
- Soft pink-gold for magic hour and golden hour shots
Apply Blending Mode and Mask
Set the flare layer blending mode to Screen for most situations. This makes the black background of the overlay disappear and lets only the light show through. Try Soft Light or Overlay if you want a more atmospheric, integrated result. Then paint a layer mask to remove the flare from anywhere that needs to stay clear, typically faces, eyes, product labels, and any text in the frame.
Do a Preliminary Composition Check
Zoom out and look at the full image. Does the flare guide your eye toward the subject or pull attention somewhere else? Fix any composition issues at this stage before spending time on the fine-tuning steps that follow.
Fine-Tune Exposure and Contrast After the Flare
This step gets skipped all the time and it really shows. Adding a lens flare introduces brightness into your image that can throw off the tonal balance you carefully set up before. Highlights that were sitting just right might now feel slightly blown. Shadows can lose their definition.
After placing and blending your flare, go back and look at your exposure, highlights, and contrast with fresh eyes. You’ll often find that:
- Pulling highlights down by 5 to 10 points restores the balance
- A slight contrast boost brings back tonal separation
- Adjusting shadows can recover depth that the flare softened
In Lightroom, use the Tone Curve or the Highlights and Shadows sliders. In Photoshop, add a Levels or Curves adjustment layer above the flare layer so the correction applies to the full composite.
Do a White Balance Check
Here’s the issue. The flare you added has its own color temperature. Even if you matched the hue carefully during placement, adding that light into the frame can subtly shift how the overall image feels temperature-wise. A warm golden flare can push a correctly balanced photo toward looking too orange. A cool flare can add an unexpected blue cast to skin tones.
After placing your flare, check your white balance again:
- In Lightroom, revisit the Temperature and Tint sliders with fresh eyes
- In Photoshop, add a Photo Filter or Color Balance adjustment layer at the top of your stack
- Usually a nudge of 3 to 7 points in either direction is all it takes
Getting white balance right after the flare ensures the whole image reads as one coherent, well-lit scene rather than a photo with an effect sitting on top of it.
When You Should NOT Use Lens Flare
Every guide tells you how to use lens flare. Very few tell you when to leave it alone, and that’s honestly just as important. Here are the situations where adding a flare will hurt your image:
- When the image already has strong, well-defined lighting and the flare would just compete with it rather than complement it
- When technical precision matters, such as in real estate, architectural, scientific, or legal documentation photography where clarity and accurate color are non-negotiable
- When the subject needs to be the only focus, like in minimalist product photography on clean backgrounds where every element is designed to reduce distraction
- When the image is already visually busy with strong patterns, lots of colors, text overlays, or multiple subjects fighting for attention
- When there’s no logical light source in the frame that could plausibly generate a flare in that position
The simple rule is this: use lens flare to enhance an image that already has light direction and atmosphere. Don’t use it to try to create those qualities in a photo that fundamentally doesn’t have them.
Best Use Cases for Photeeq Lens Flare
Different photography styles benefit from flare in different ways. Here’s how it plays out across the most common categories.
Portrait Photography
A soft flare placed just behind a subject’s shoulder or head adds separation. It visually lifts the subject off the background and creates a halo-like glow that feels both cinematic and intimate. For outdoor portraits during golden hour, a warm flare at low intensity can push a technically decent shot into something emotionally powerful.
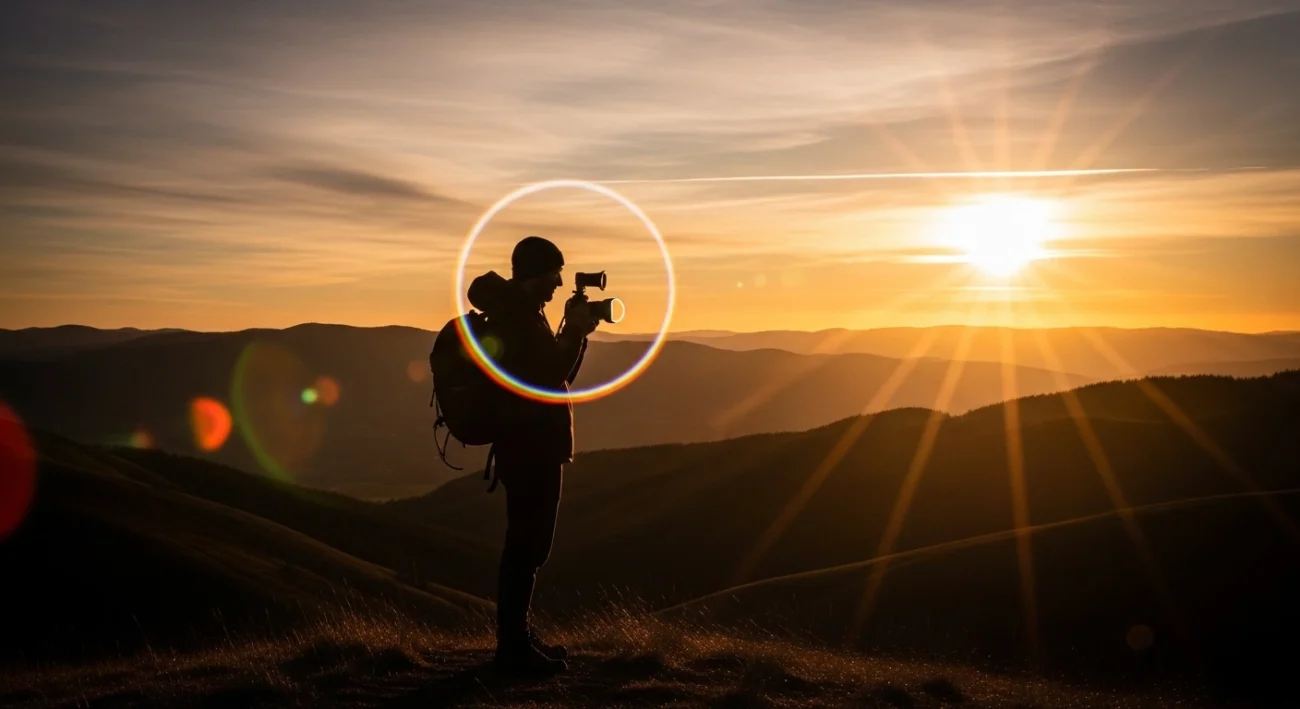
Landscape and Nature Photography
Flat landscape shots, particularly those taken on overcast days, respond beautifully to a well-matched flare. Adding subtle golden streaks near the horizon of a sunset scene, or a soft diffused glow above a mountain ridge, introduces warmth and atmosphere that the original shooting conditions just didn’t deliver.
Wedding Photography
Wedding photographers deal constantly with mixed lighting and rushed conditions. A discreet flare in post can rescue a backlit ceremony shot that technically worked but emotionally fell flat. Soft, warm, low-intensity flares work best here. Anything heavy-handed will look out of place in the album.
Fashion Photography
High-contrast editorial images in fashion photography respond well to bold, directional flares that add drama without hiding the clothing or the model. A horizontal anamorphic streak across a studio fashion shot can instantly lift it from catalogue to campaign.
Product Photography
A subtle rim glow or directional flare makes an object feel premium and desirable. Cosmetics, jewelry, tech products, and automotive photography all benefit from this approach. Restraint is everything here.
Urban and Nightscape Photography
City streets at night, wet pavement reflecting neon signs, long-exposure traffic trails — these scenes carry natural drama that a cool-toned horizontal streak or starburst flare can amplify beautifully. Photeeq’s anamorphic streak presets work especially well for urban night photography.
Social Media and Content Creation
Images with depth, warmth, and visual contrast genuinely get more clicks and longer viewing time. A Photeeq flare applied thoughtfully to a YouTube thumbnail or Instagram post isn’t just an aesthetic choice. It’s a small but real boost to engagement.
Photeeq Lens Flare for Video
Most of the conversation around Photeeq focuses on still photography, but the same principles apply to video, with one extra challenge: the flare needs to move convincingly with the camera.
Static flares look fake in video almost immediately. If you’re adding a Photeeq-style flare to a video clip, you’ll need to keyframe the position and intensity to match the natural movement of the shot. In Premiere Pro or After Effects, this means setting position and opacity keyframes at key moments. It takes more time, but a flare that organically shifts as the camera moves is absolutely worth the effort.
For short-form content like Instagram Reels or TikToks, a subtle light leak or brief flare flash during a transition can add a cinematic feel that elevates the production quality noticeably, even on footage shot on a smartphone.
Is Photeeq Lens Flare Worth It for Beginners?
Yes, and here’s why it’s actually a great starting point rather than an advanced tool. The non-destructive workflow means you can experiment freely without any risk of permanently changing your original image. The preset library gives you a starting point even if you don’t yet have the eye to build a flare from scratch. And because the controls are visual and intuitive, the learning curve is genuinely not that steep.
The best approach for someone just starting out:
- Pick a strong backlit portrait or a landscape shot with a visible horizon
- Drop in one of Photeeq’s warm preset flares at around 30% intensity
- Align it to the light source
- Check exposure and white balance after placement
- Then just see what happens
Most beginners are genuinely surprised at how much impact one subtle, well-placed adjustment can make.
Frequently Asked Questions
What software is Photeeq Lens Flare compatible with?
Photeeq works with Adobe Photoshop, Adobe Lightroom, and Photopea, which is a free browser-based editor. As a PNG overlay pack, it also works with any layered editing software that supports blend modes, including GIMP and Affinity Photo.
Does Photeeq work on mobile?
The full plugin version is desktop only. However, Photeeq PNG overlays can be used in mobile apps like Snapseed or Pixelmator on iPad if the app supports layer-based editing.
Is Photeeq Lens Flare free?
There are free starter packs available, but the full premium collection with the most realistic and varied flare styles is a paid product.
Can I use Photeeq flares on commercial projects?
Most premium Photeeq packs include a commercial use license, but always confirm the specific terms before using the effect in client work or paid advertising.
How is Photeeq different from Photoshop’s built-in lens flare filter?
Photoshop’s native lens flare is basic, limited to a few static styles, and applied directly to the pixel layer, which makes it destructive by default. Photeeq offers far more variety, more convincing results, and a fully non-destructive workflow.
Can I animate a Photeeq flare in video?
Yes. By keyframing the position and opacity of the flare overlay in Premiere Pro or After Effects, you can animate it to follow the camera movement naturally.
What’s the best blending mode for lens flare overlays?
Screen mode works best for most situations because it removes the black background and lets only the light through. Soft Light suits subtle atmospheric flares, and Overlay creates a higher-contrast result.
Will a lens flare fix a technically bad photo?
No. A flare enhances images that are already well-composed and properly exposed. If the fundamentals aren’t solid, the flare will just draw more attention to what’s already wrong.
Final Thoughts
Photography has always been about light, and Photeeq Lens Flare gives you one more way to shape it exactly how you want. Use it with intention, keep the intensity honest, and always take that extra minute to check your exposure and white balance after placement. Do those things consistently, and this tool won’t just make individual photos better it’ll quietly raise the overall quality of everything you put out.